Shared printers on Windows outside the CTU domain (ms.cvut.cz)
Last updated:
- Start the Powershell console
- Start -> "Powershell" -> Run as administrator (usually requires login credentials of an authorized user)
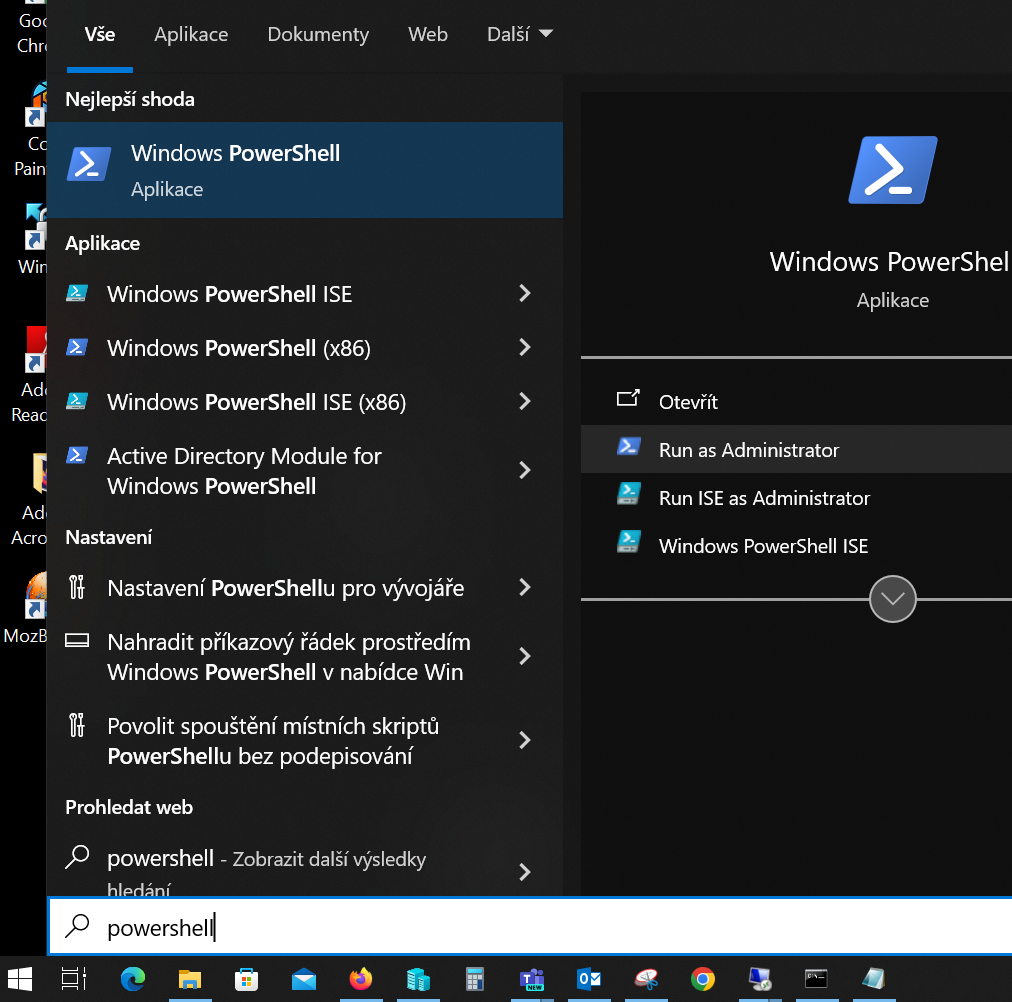
- Enter the following line, complete with your login details (CTU account):
- cmdkey /add:fjfi-print2.ms.cvut.cz /user:ms\username /pass:password
- Restart the computer
- Continue with the standard procedure for adding a network printer:
- Start -> Settings -> Devices -> Printers and Scanners
- Add a printer or scanner
- after searching for printers for a while, the option "The requested printer is not in the list" appears
- in the next window, select "Select a shared printer by name"
- write in the box: \\print2.fjfi.cvut.cz\
- after entering the last backslash, a list of all the printers available to you will expand after a while
- select a printer from the list and click "Next"
- jone more "Next" and "Finish" button.
- the printer is added and it looks something like this:
